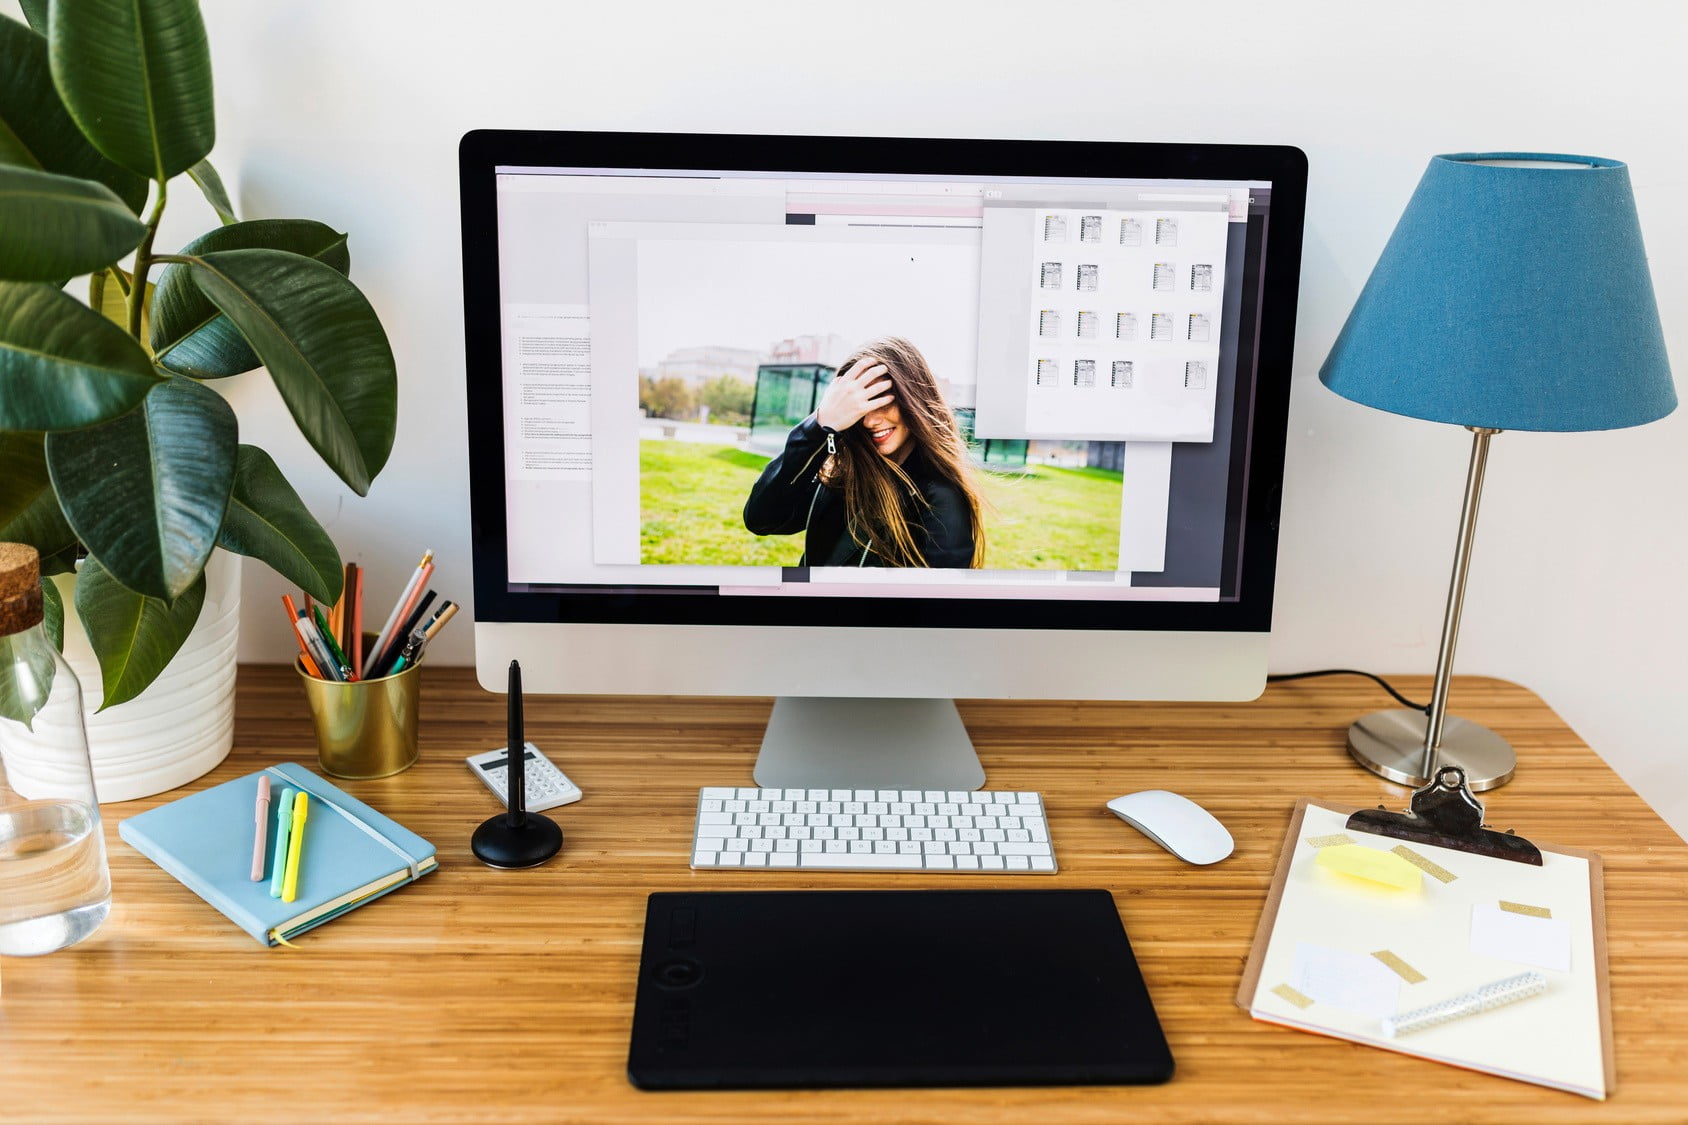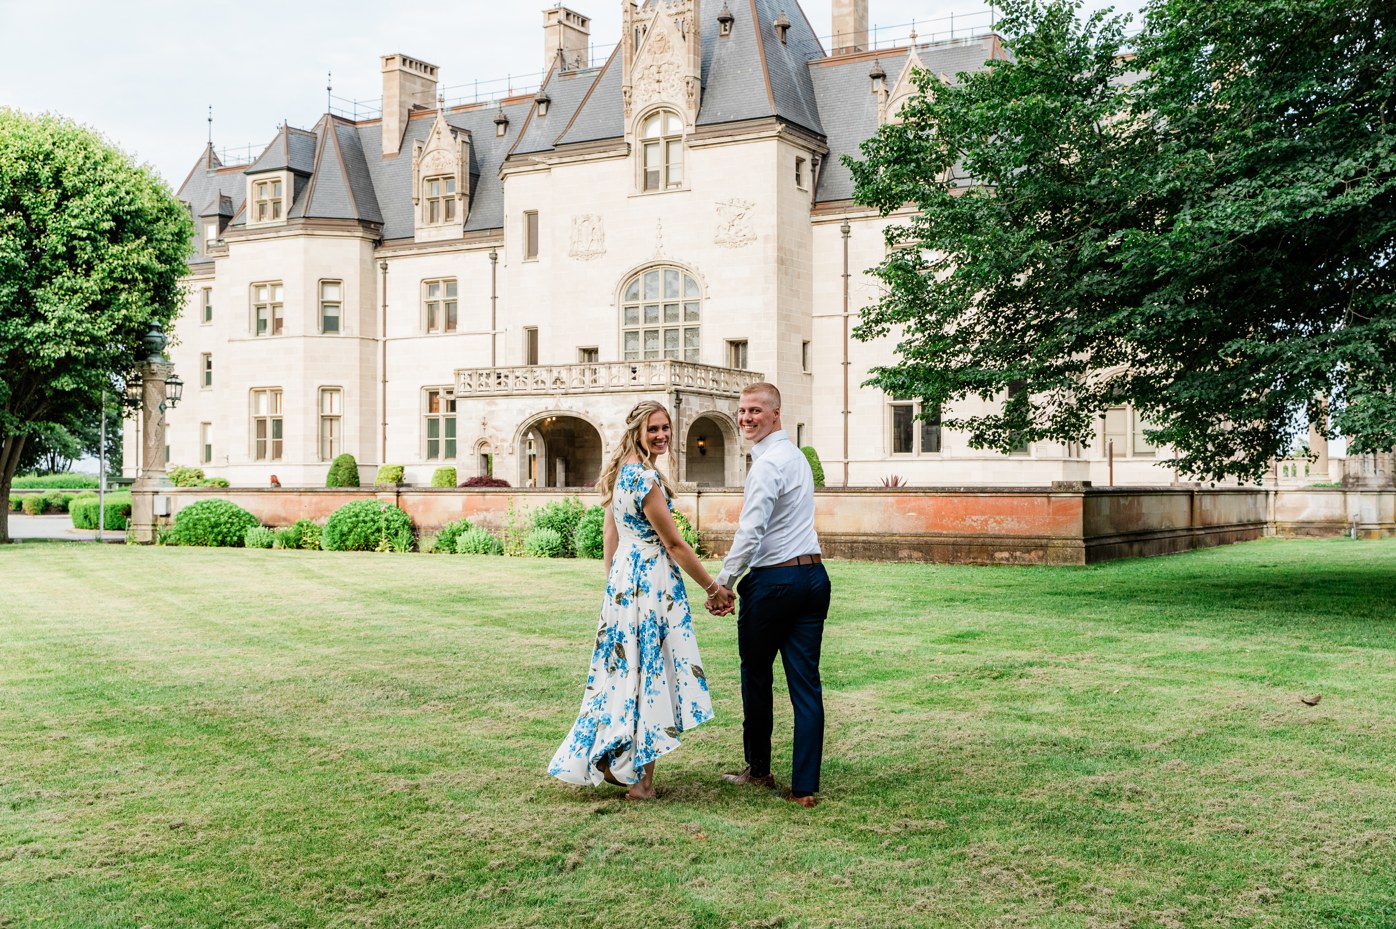
Your wedding galleries carry your name. When another person handles the editing, a clear style guide helps them understand the choices that make those galleries yours.
The guide does not need to be long. A small, well-chosen reference set and specific notes are more useful than a collection of broad adjectives. Build it around your finished photographs and the light you encounter at real weddings.
Start with your own reference edits
Choose examples you would be comfortable delivering today. Include daylight, backlight, window light, an interior ceremony and reception lighting where those situations are part of your work. Add a group photograph and an example of a dark suit beside a white dress.
For each scene, explain what you want the editor to preserve. “Keep the room warm, but avoid orange skin” communicates a relationship. “Light and airy” alone leaves many decisions open.
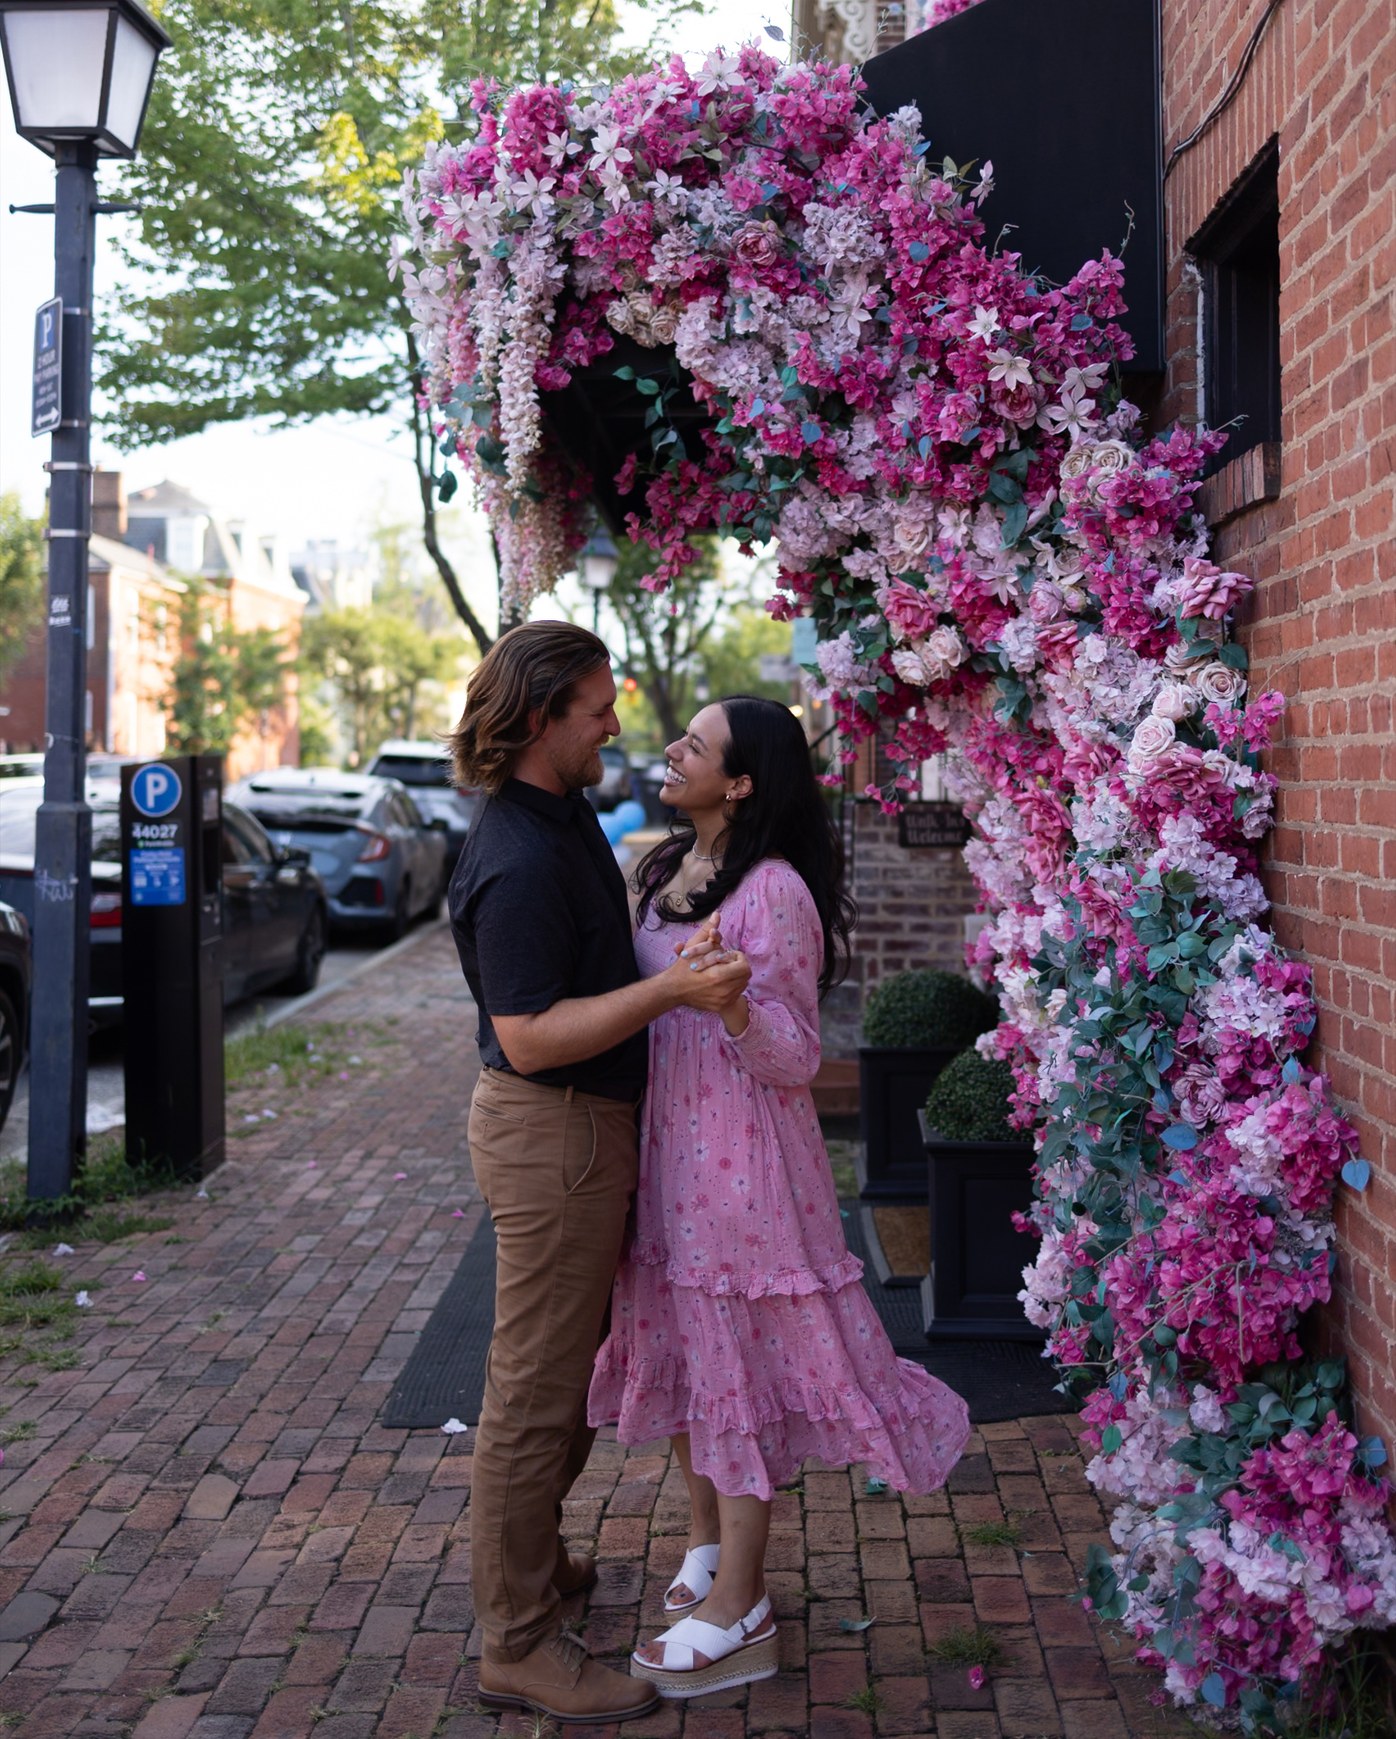
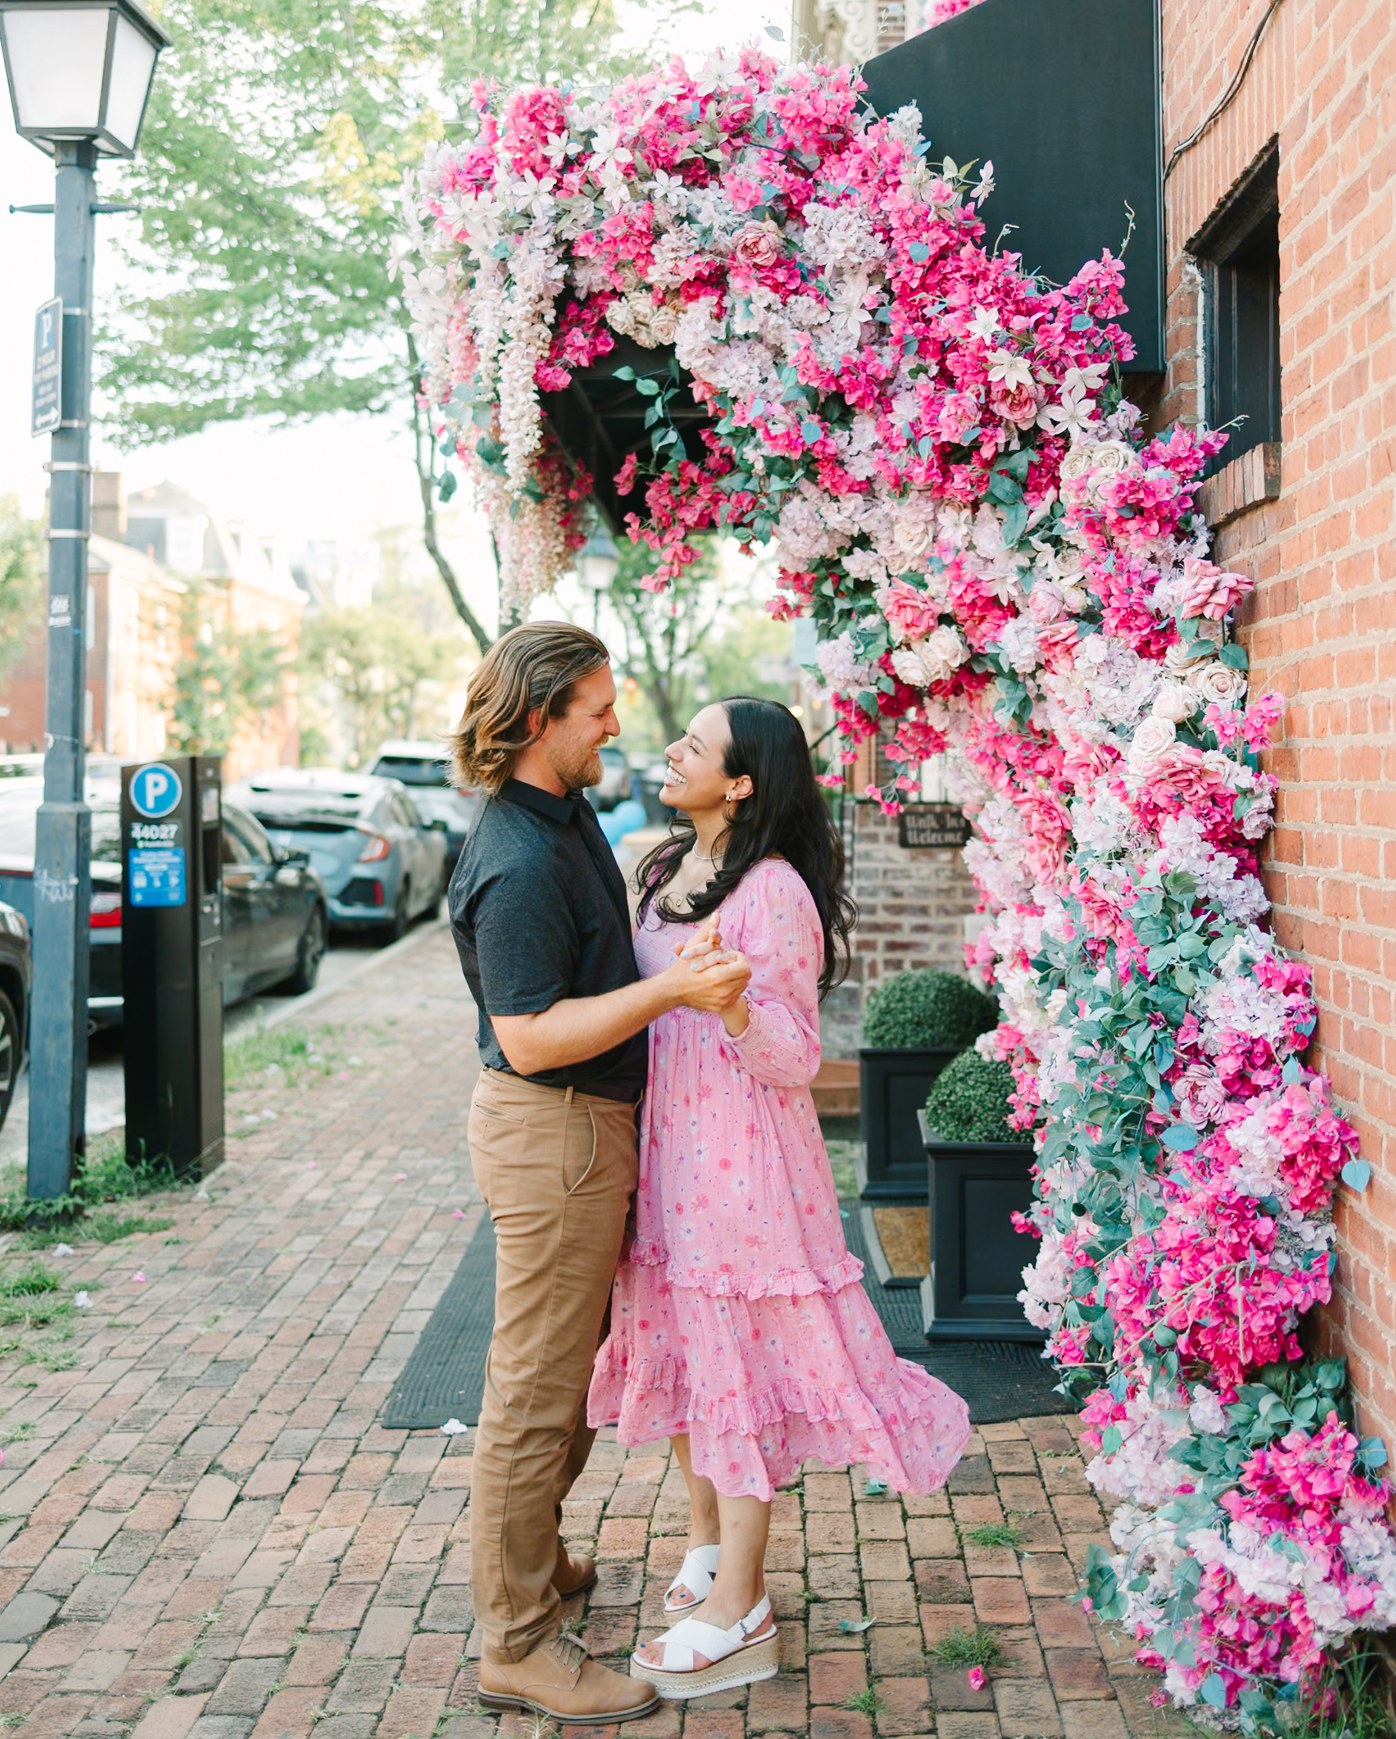
Describe the decisions that define your look
Cover these five areas in plain language:
- Exposure: where you prefer faces to sit, and whether you retain a darker atmosphere in evening scenes.
- Skin tones: your preferred warmth and the casts you want reduced. Include references for the people and lighting in the actual gallery.
- Whites and highlights: how you balance a luminous dress with visible fabric detail, and when a bright background is acceptable.
- Color and contrast: your treatment of greens, flowers, dark suits and shadows.
- Composition: whether you want cropping and straightening, and which photographs should keep their original framing.
Explain exceptions. You may want clean whites outdoors and warmer whites under reception lights. A good reference set shows both, rather than asking the editor to apply one rule everywhere.
Add preset and profile information precisely
If your workflow uses Goodlight, TAP or another preset or profile, identify the specific product and version. Include your custom starting point and reference exports where available. Note any camera-specific adjustments you normally make.
The name of a preset does not describe every decision in a finished gallery. Your references remain the guide for exposure, white balance and the final color balance. For hybrid work, include relevant film scans as references and identify them clearly; for digital-only work, describe your preferred digital finish without implying that the images were captured on film.
Show what consistency means across a sequence
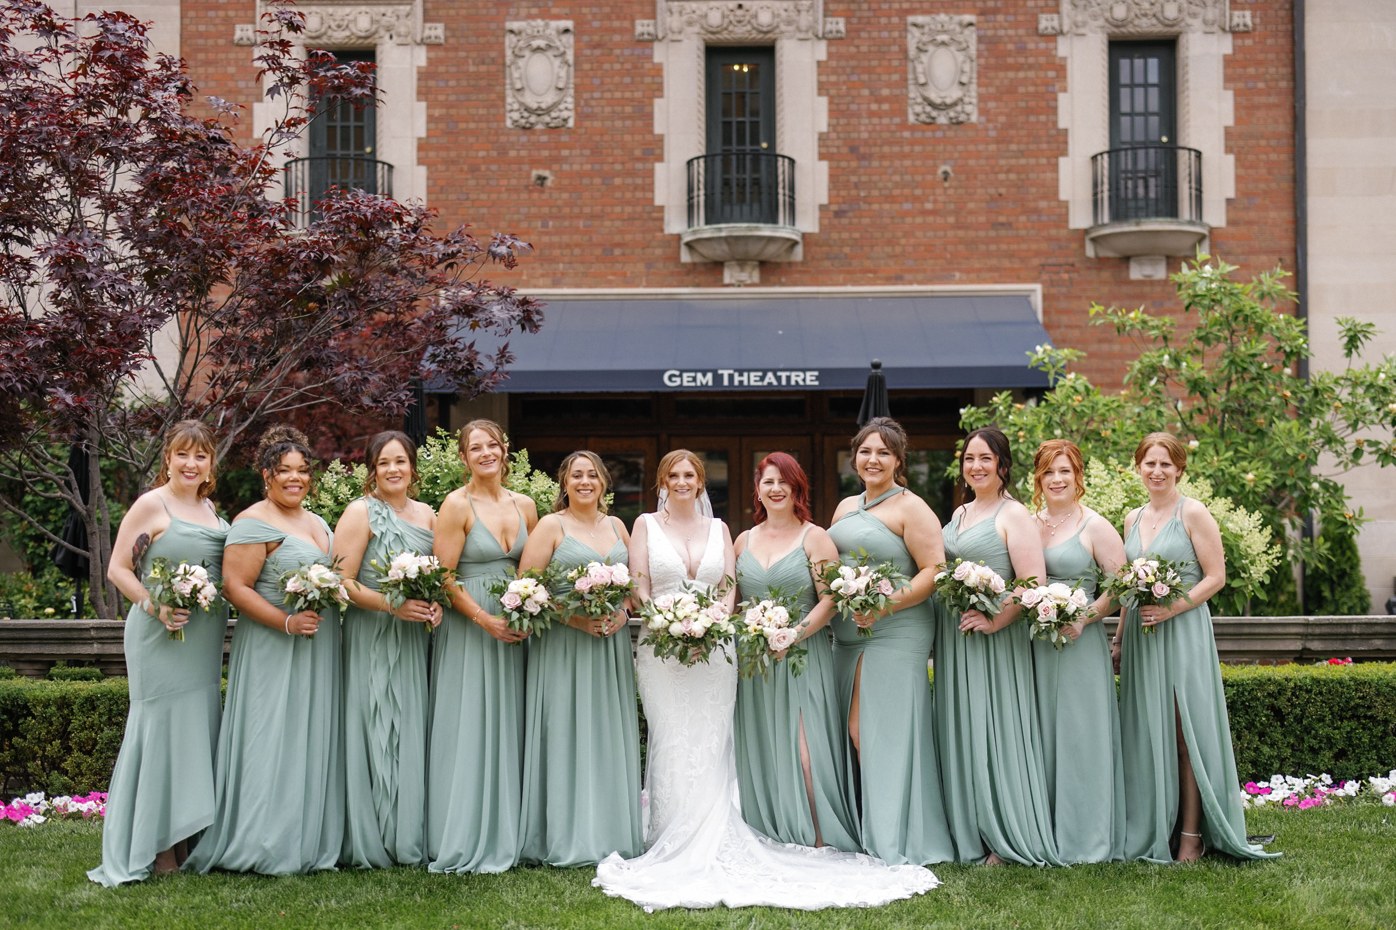
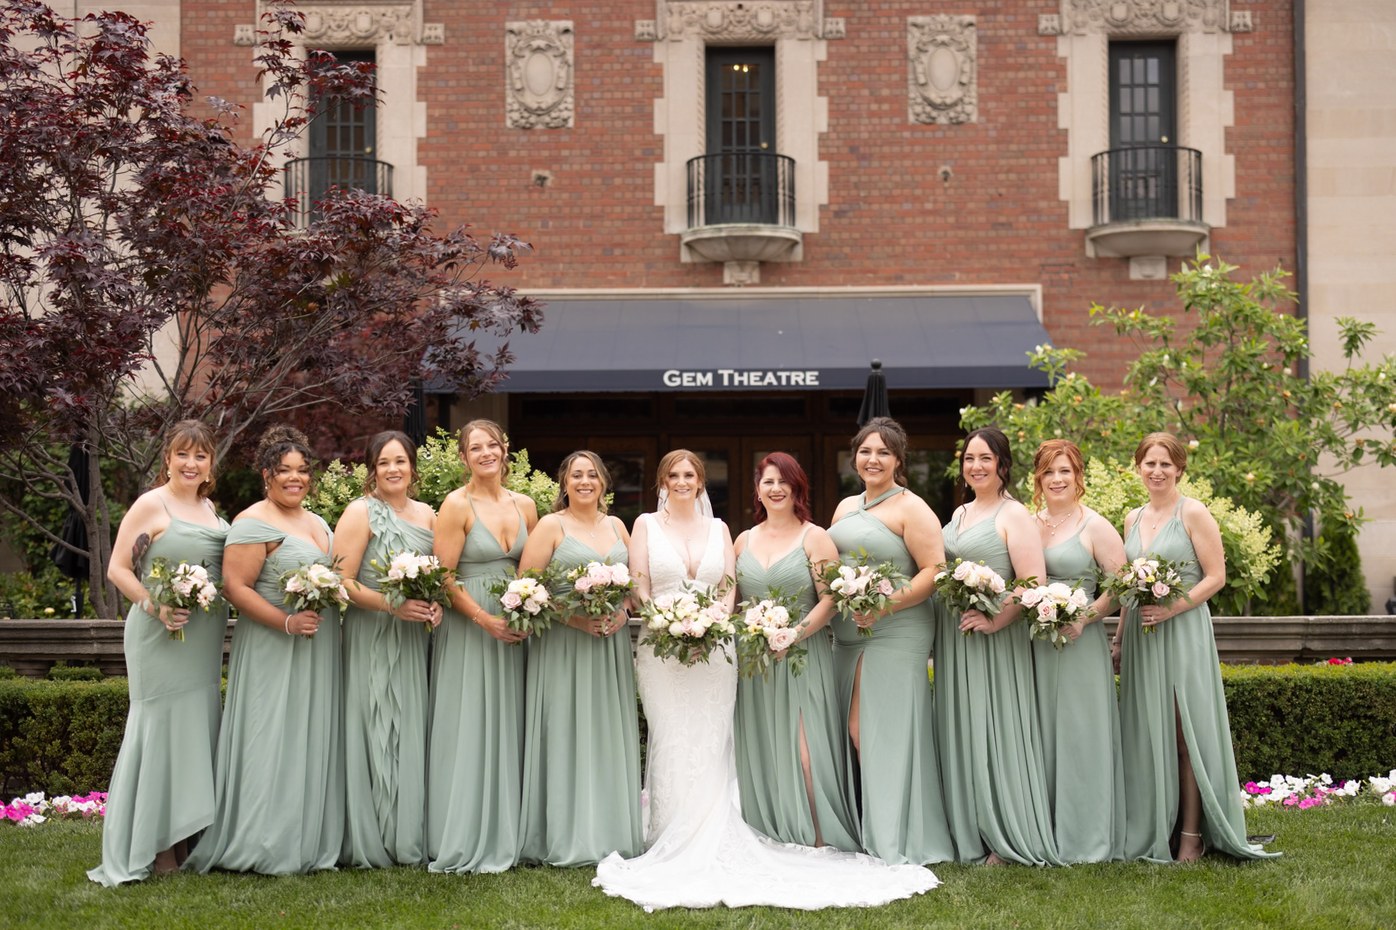
Include a few neighboring frames from the same scene. An editor can then see how you balance changing expressions, small shifts in light and different compositions without making the sequence feel disconnected.
Keep a short handoff sheet with every gallery
Use this checklist alongside your reference photographs:
- Gallery name and the photographs to be edited.
- Current reference set and exact preset or profile version.
- Exposure, skin-tone, whites, greens and contrast preferences.
- Cropping and straightening requirements.
- Photographs or scenes with special instructions.
- Whether image selection or detailed retouching is part of the order.
- The delivery date agreed for this gallery.
When using Lightroom Classic, keep the selected photographs and their Smart Previews together in the exported catalog package. Adobe explains the Smart Previews workflow. Follow the service’s upload instructions and keep your original files backed up.
Turn feedback into a guide that improves over time
After the first returned edit, keep notes on recurring preferences. Replace an outdated reference rather than adding conflicting instructions. Date your guide so that your editor knows which version to follow.
For photographers with large seasonal workloads, this makes each handoff easier to review: the creative direction stays in one place, while gallery-specific exceptions stay with the order. It does not remove your final review; it gives that review a clearer starting point.
At InPix, your dedicated personal editor works from your references and style preferences. If you are considering that workflow, a representative trial set is a practical place to begin.
Spend Less Time in Lightroom & More Time Behind the Camera
InPix.Me pairs you with a dedicated human colorist to match your film scans or apply your favorite presets for just $0.20 per image.
See our before-and-after wedding editing samples and editing services and prices to plan your next gallery.