The Cost of Editing Mistakes
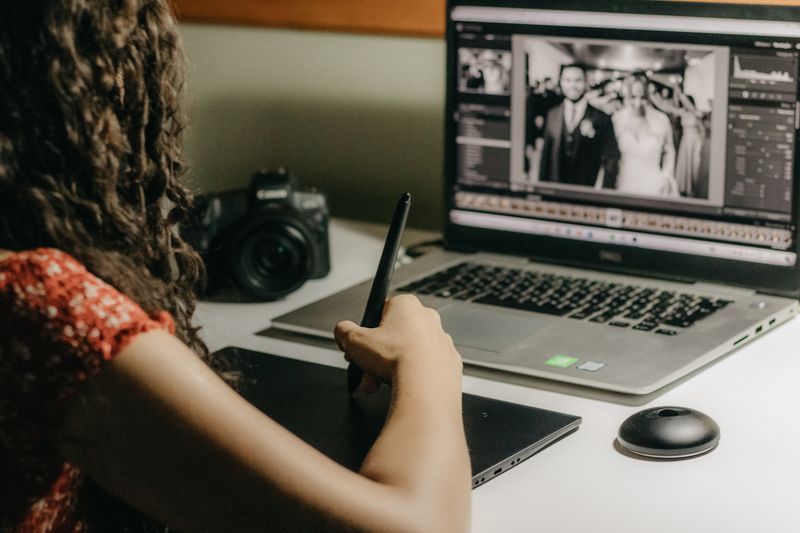
As a wedding photographer, capturing the perfect moment is only half the battle. The other half takes place behind the computer screen. Editing a wedding gallery of 800+ photos is a massive undertaking, and it's easy to fall into bad habits when you're staring at Lightroom for 12 hours a day.
After reviewing thousands of galleries at InPixMe, we've noticed recurring patterns that separate amateur editors from seasoned professionals. Avoiding these common pitfalls will not only elevate the final quality of your images but also drastically reduce your editing time.
1. Over-Editing Skin (The "Plastic" Effect)
One of the most frequent mistakes we see is the heavy-handed use of the clarity slider, texture slider, or automated portrait plugins. While clients want to look their best, completely blurring out every pore makes subjects look like wax figures rather than human beings.
The Fix: Use the healing brush for temporary blemishes (like a sudden breakout), but leave permanent features like freckles and natural laugh lines alone. If you must soften skin, use the texture slider locally with a very low opacity brush, rather than applying a global adjustment to the entire face.
2. Inconsistent Color Grading Across Different Lighting
A wedding day transitions through multiple lighting scenarios: getting ready in a tungsten-lit hotel room, a bright mid-day outdoor ceremony, golden hour portraits, and a reception illuminated by DJ lasers and neon signs. Many photographers slap their favorite preset on every photo and call it a day.
This results in an incredibly disjointed gallery where the skin tones look completely different from one scene to the next.
The Fix: Anchor your edits around skin tones. Your preset is just a starting point. You must manually adjust the white balance and tint for every single lighting scenario to ensure that the bride's skin color looks identical in the hotel room and on the dance floor.
3. Over-Saturating Greens
Digital camera sensors love to pick up vibrant, almost neon greens, especially in spring and summer weddings. If you leave the greens untouched or boost the global saturation, the foliage will distract the viewer's eye away from the couple.
The Fix: In the HSL panel, slightly desaturate the greens and yellows, and shift the green hue slightly toward a warmer, more olive tone. This is a classic hallmark of high-end, editorial wedding photography.
4. Cropping Too Tightly
When you're trying to remove a distracting element from the edge of the frame, the instinct is to crop in tight. However, cropping out joints (like ankles, wrists, or knees) or leaving no "breathing room" in the direction the subject is looking can make the photo feel claustrophobic.
The Fix: Follow the classic rules of composition. Leave negative space. If there's a distraction on the edge, it's often better to use the clone stamp tool in Photoshop rather than ruining the composition with an awkward crop.
5. Neglecting the Culling Process
Editing mistakes often start before you even touch a slider. Delivering too many photos, including near-duplicates, dilutes the impact of your best work. If a client sees three identical photos of a groomsman, they stop paying attention.
The Fix: Be ruthless in your culling. Deliver only the absolute best shot from a burst. A tightly curated gallery of 500 incredible photos is always better than a bloated gallery of 1,000 mediocre ones.
If the editing process is burning you out, it might be time to outsource your photo editing. By letting professionals handle the heavy lifting of color correction and consistency, you can focus on shooting, marketing, and growing your photography business.
Spend Less Time in Lightroom & More Time Behind the Camera
InPix.Me pairs you with a dedicated human colorist to match your film scans or apply your favorite presets for just $0.20 per image.
See our before-and-after wedding editing samples and editing services and prices to plan your next gallery.